AI Photo Enhancer
Fix a dark, flat, noisy or slightly soft photo in one step. Pick what to improve, and the picture keeps its people, framing and content.
Enhance this photo: .
- Model
- Nano Banana · Google
- Cost
- 60 credits
Prompt sent to the model
Your results appear here when you press Generate.
More AI tools
Prompt library
Prompts with the image each one made, ready to copy.
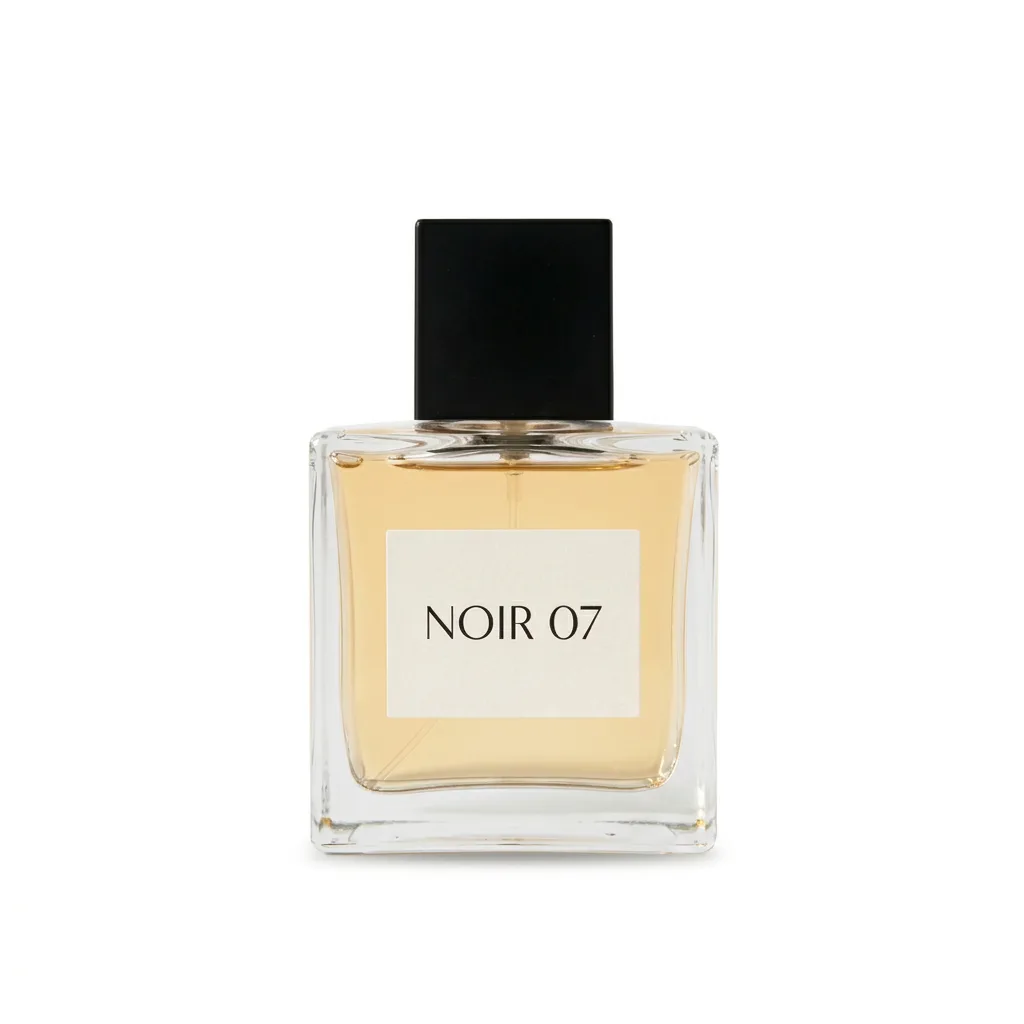 Nano Banana ProCut a product out onto a clean white background
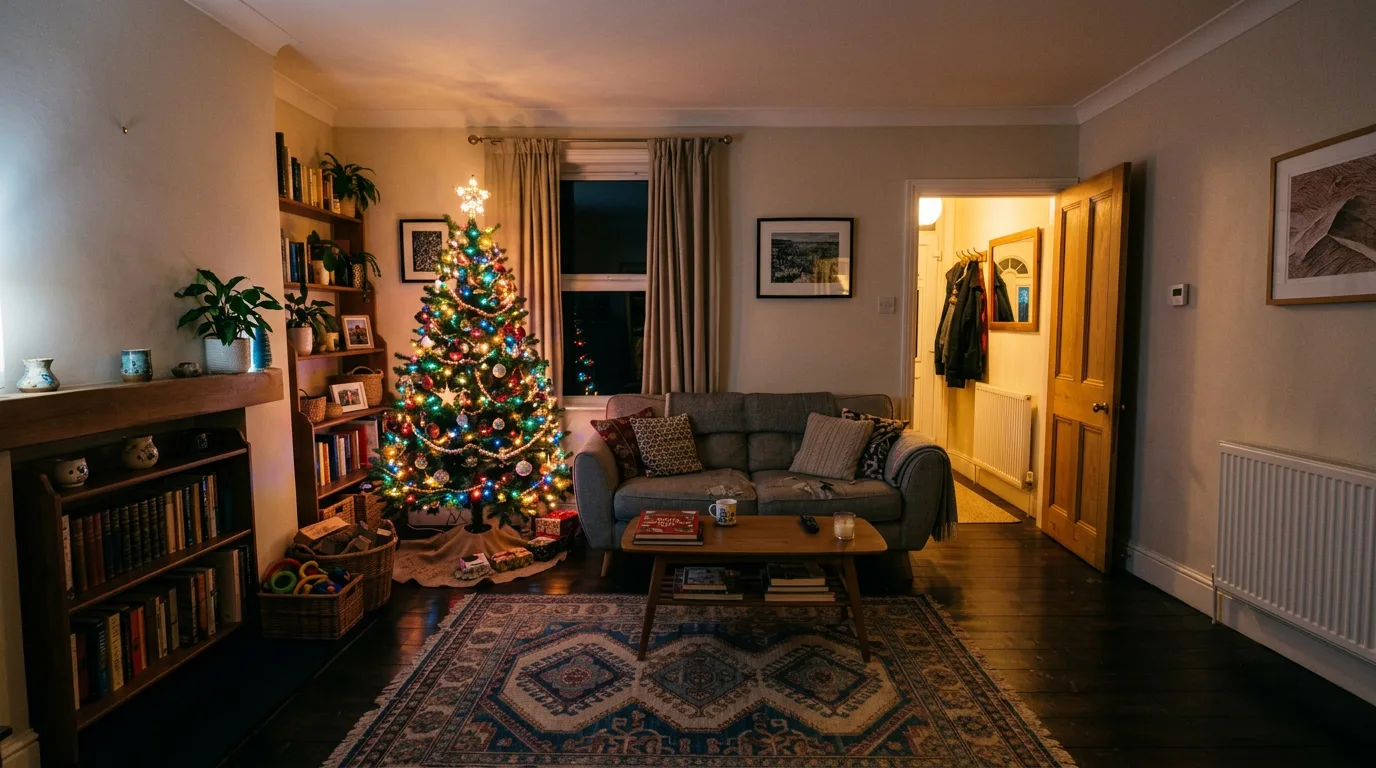 nano-banana-2Extend a photo beyond its edges
 nano-banana-2Passport-style ID photo from a selfie
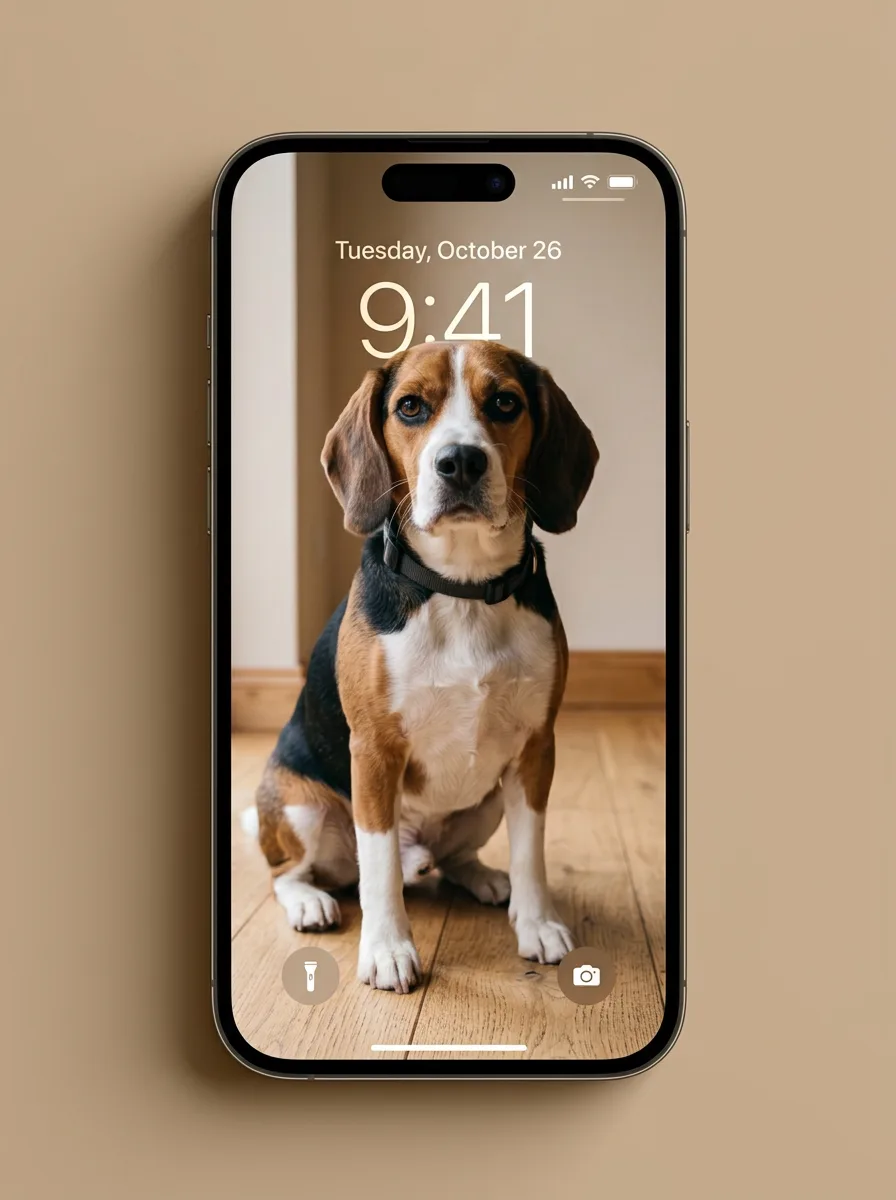 nano-banana-2Preview a photo as your phone lock screen
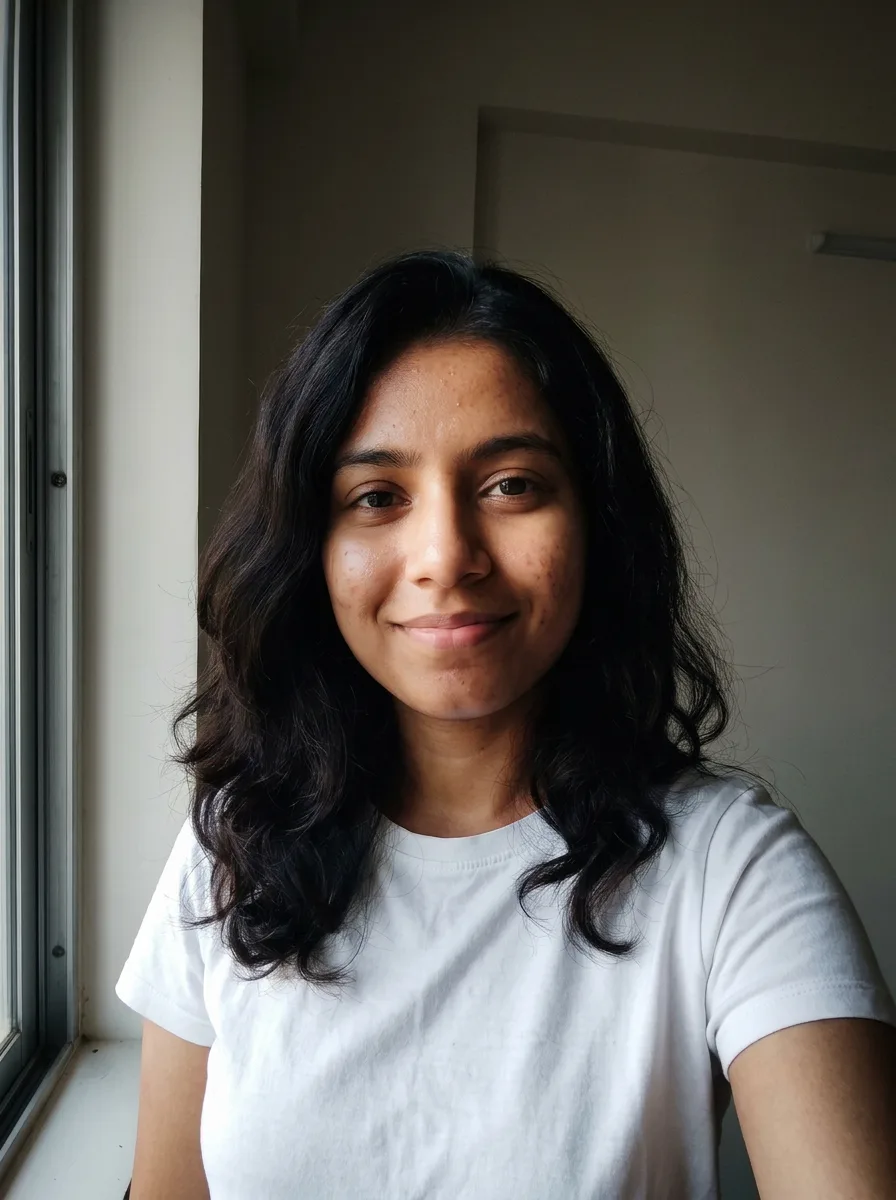 nano-banana-2Relight a portrait with a classic studio lighting setup
 nano-banana-2Reshoot a phone photo with real camera settings
 Nano Banana ProSharpen a blurry or low-resolution photo
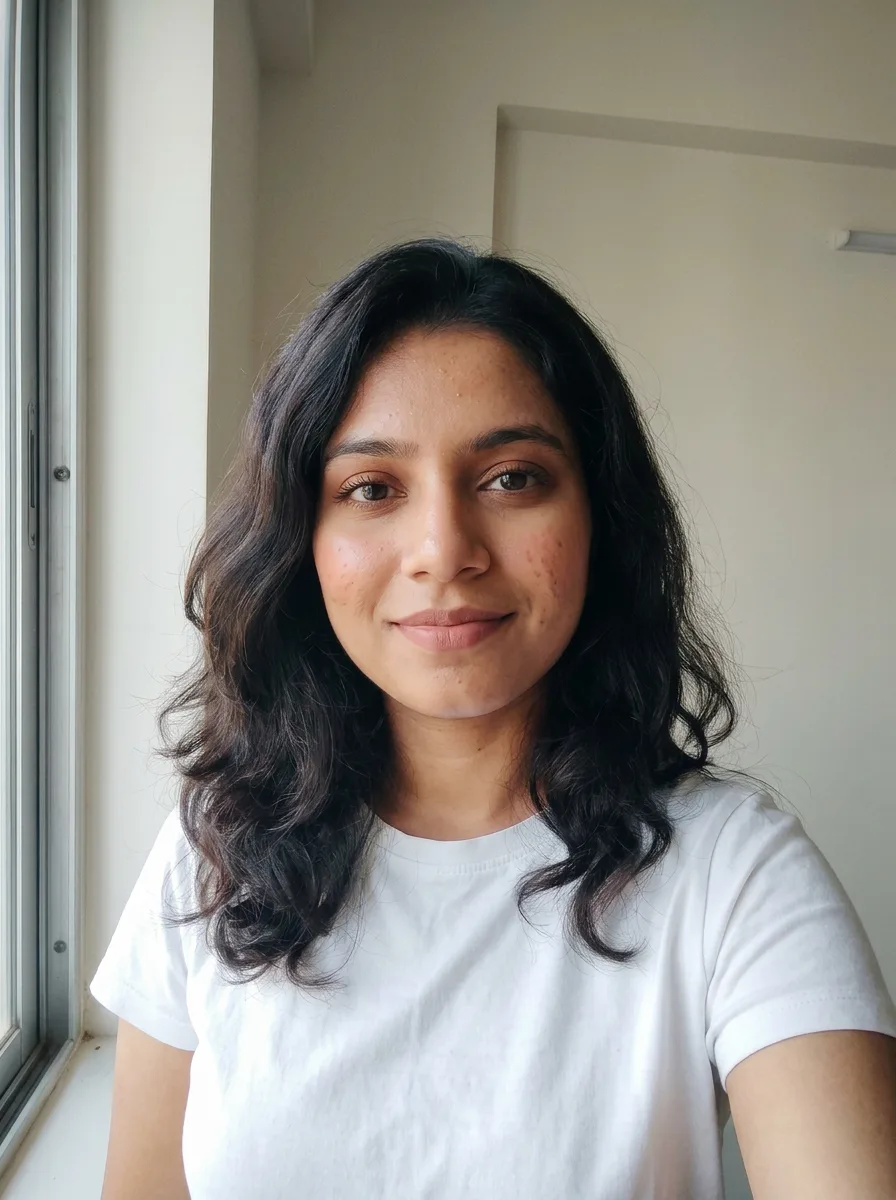 nano-banana-2Try a makeup look on your own photo
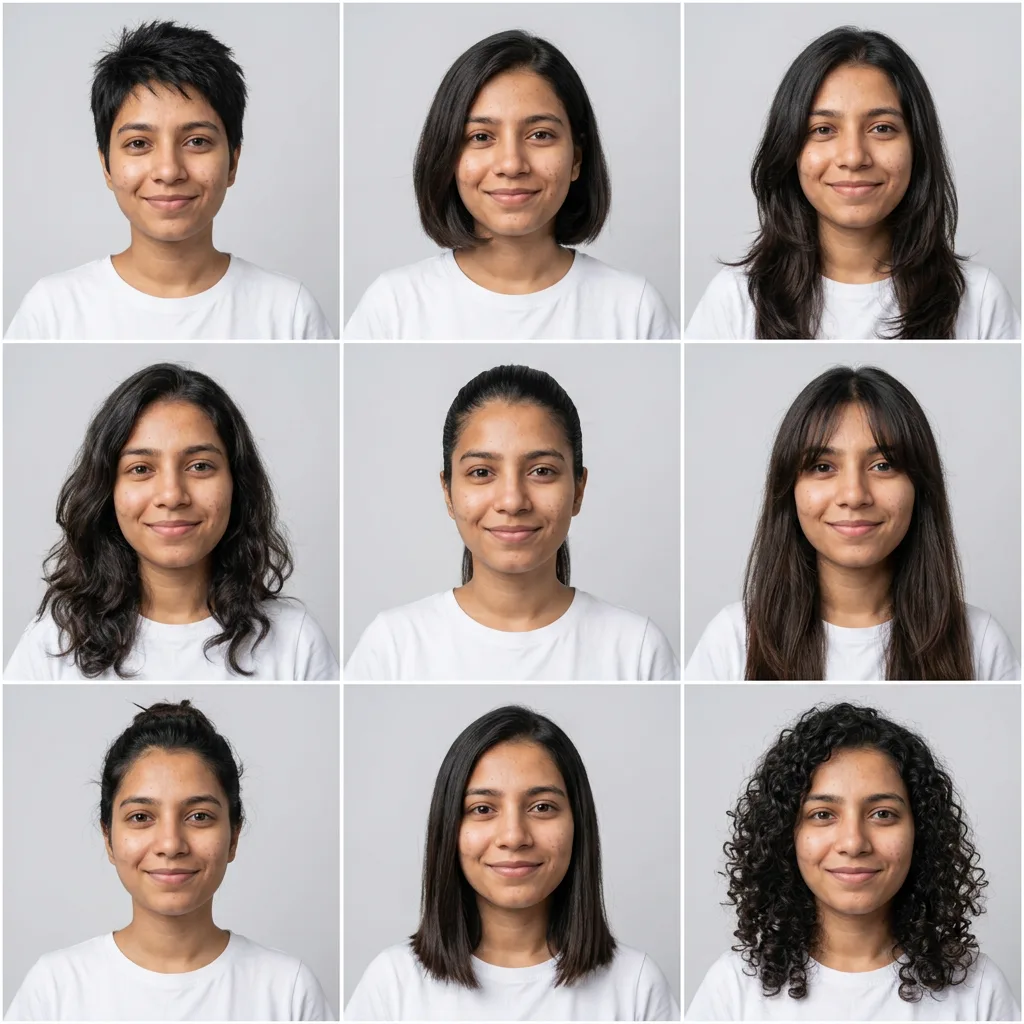 nano-banana-2Try nine hairstyles on your own face
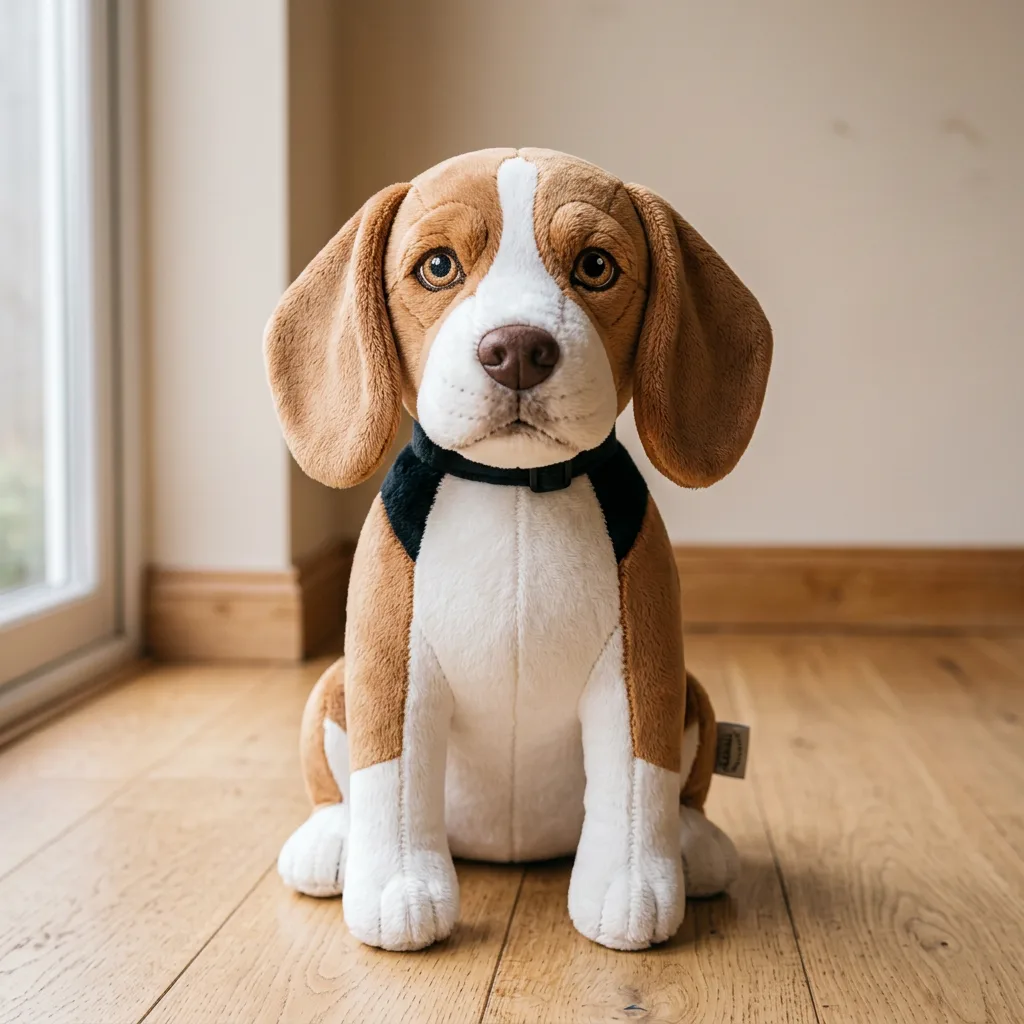 nano-banana-2Turn your pet into a plush toy
What is AI Photo Enhancer?
Phone photos often come out a little wrong: too dark, too yellow, slightly soft or full of grain. The photo enhancer fixes that in one pass. Pick what to improve, or let it fix light, color, sharpness and noise together, and the model returns the same photo with those problems cleaned up.It improves how the picture looks, not its pixel count. To make a small image bigger, use the image upscaler. For torn, scratched or faded prints, the photo restorer is made for that.
What people make with it
- Cleaner photos for listings and profiles
- Indoor and evening shots with better light
- Product photos with true colors
- Scans and screenshots without noise
Why use Photo Enhancer?
- 5 models to choose from
- Starts on Nano Banana by Google. Also works with Nano Banana 2, Nano Banana Pro, Seedream 4.5, FLUX.1 Kontext [pro].
- The cost is shown before you run it
- 60 credits per image on Nano Banana. The Generate button shows the exact credits first, so nothing is spent by surprise.
- Failed generations are refunded
- When a generation fails, its credits go back to your balance automatically.
- One credit pool for every tool
- The same credits work across every studio tool and model, and the prompt tools include free prompts every day.
How to use Photo Enhancer
Three steps from an idea to a finished result.
- 11. Upload the photo
- 22. Pick what to improve
- 33. Generate and compare the result with the original
Tips for better results
- Start with the all-in-one fix. If it changes too much, run again with a single fix such as colors only.
- Motion blur and missed focus can only be improved so far. The model may invent detail, so look closely at faces and text.
- Enhance first, then upscale if you need a larger file for print.
- For one specific problem, such as a shadow across a face, describe it in the AI photo editor instead.
Frequently asked questions
What people ask before they use Photo Enhancer.
1What does the enhancer change?
2Does it make the photo bigger?
3How is it different from the image upscaler?
4Will faces change?
5How much does it cost?
Try Photo Enhancer now
60 credits per image on Nano Banana. You see the exact credits before you generate.
Open Photo Enhancer